 Charging up your electric vehicle at home can save money and time, making it an attractive option for many EV owners. Installing a 120V Level 1 charger typically costs between $300 and $600 for the hardware, with additional minimal installation fees.
For a Level 2 charger that provides 240V, the installation can cost between $700 and $2,000, including labor, permits and any necessary electrical upgrades for the higher voltage.
In Pompano Beach, the rate can be higher or lower depending on local electrician rates, permit cost and the proximity of the charger to the electrical panel. Understanding what goes into an EV charger installation is the first step in adding this premium accessory to your home.
What Affects the Cost of EV Charger Installation
Putting an EV charger into your space is not a fixed price, so we have to look at a handful of variables based on what you want and need, as well as the local installation requirements, to determine your ultimate cost.
Charger Level and Hardware Quality
According to Angi.com, the level of the charger and the quality of the hardware used will impact cost. Basic Level 1 charger units are typically priced between $300-$600, but Level 2 unit base prices for hardware only begin at $300 and often top out at $1,000 for premium models.
When additional features are included in the installation, such as smart-charger functionality, Wi-Fi, or weatherproofing, the installation cost will also rise.
Electrical Work and Home Readiness
Where you want to put your EV charger also impacts installation costs. For chargers placed near a 240V circuit, the cost stays on the lower end, but if you need a new circuit breaker, a panel upgrade or need to run wiring further, the cost rises significantly.
EV Charging Summit suggests that these types of upgrades can increase total installation costs by as much as $1,500 to $2,500.
Labor, Permits and Local Codes
According to Angi.com, labor costs vary by region, with typical installation labor falling between $400 and $1,200. The complexity of the job also increases the need for a licensed electrician to ensure all aspects of the installation are up to code.
In addition, permit and inspection fees can vary by location, often between $50 and $200, but EV Charging Summit suggests that they could even be up to $500 in some places.
Distance From Electrical Panel and Wiring Complexity
Where you install the EV charging panel adds to the upfront cost of putting one in. When there is a short distance from the charger to the vehicle, less conduit and labor are used, resulting in a lower cost.
For longer runs, like when the garage is further from the panel or an outdoor setup is needed, costs rise. In addition, material and labor costs increase when trenching is required to bury the lines or when additional conduit or outdoor wires are necessary.
Federal and State Incentives for EV Charger Installations
 Not all installation considerations add to your cost. Taking advantage of both tax credits and other types of rebates and local utility programs can reduce the amount of money needed to put an EV charger in your home.
Federal Tax Credits
The popular IRA tax credit has been reenacted and can put up to 30% of EV equipment and installation costs, up to $1,000, back into your pocket, according to Kiplinger.
Other Rebates and Utility Programs
Some local utilities in Florida offer rebates for EV charger installation or even discounted utility rates to charger owners.
Check with your provider, like FPL, in cities like Pompano, Broward or other surrounding areas for similar local programs to lower your costs.
Step-by-Step Installation Process
Setting up an EV home charging station is easy with a few simple steps.
1. Assess Charger Location and Panel Proximity
Select a spot that is close to your electrical panel, if possible, to save on wiring and labor costs.
2. Get Multiple Quotes From Electricians
Contact local electricians like Pompano’s on-time electrician, Pompano Beach Mr. Sparky, for itemized quotes on hardware, labor and permits required for your installation.
3. Permitting and Code Compliance
Make sure you have all necessary permits, and your installation follows Florida electrical codes and local building regulations. And don’t put up with any malarky from professionals who don’t can’t ensure your installation is permitted and installed correctly.
4. Installation and Testing
Finally, once the installation is complete, be sure to thoroughly test its operation so you can begin using it safely right away.
Frequently Asked Questions
How much will I actually pay in Pompano Beach compared to national averages?
Expect to pay between $500 and $2,500 for installation.
Is a panel upgrade always needed?
Panel upgrades may be necessary when a higher voltage charger is installed.
Does a higher amp Level 2 charger significantly raise installation cost?
Level 2 chargers can increase the cost by 50% or more over a Level 1.
Will rebates and tax credits bring the cost down much?
Rebates and credits can reduce costs significantly, up to 50% or more.
Can I simplify costs by picking certain charger models or locations?
Level 1 chargers cost less than Level 2 to install, and choosing a location close to your electrical panel can minimize installation costs for all types of chargers.
Tips to Minimize Costs in Pompano Beach, FL
- Pick a standard charger model to save the costs associated with extra features.
- Put your charger close to your existing electrical panel.
- Bundle installation costs with other electrical work.
- Utilize local licensed electricians.
- Take advantage of federal tax credits and local utility rebates and offers.
Call Mister Sparky to Schedule Your EV Charger Installation
![]() Putting in an EV charger doesn’t have to be complicated or expensive when you do your homework. Securing quotes from two or three businesses, like Mister Sparky, can help you anticipate any extra costs in your installation resulting from things like necessary upgrades to your panel capacity, as well as learning how much rebates and tax credits will decrease your installation cost.
Putting in an EV charger doesn’t have to be complicated or expensive when you do your homework. Securing quotes from two or three businesses, like Mister Sparky, can help you anticipate any extra costs in your installation resulting from things like necessary upgrades to your panel capacity, as well as learning how much rebates and tax credits will decrease your installation cost.
With an average of $700 to $1,500 for Level 2 chargers, picking a Level 1 system can lower your installation costs, while more complex cases can cost a little more. But choosing the best charger for you, a smart location and the right extras during the installation process will save you hundreds and ensure safe, reliable performance from your charger.
Partnering with Mister Sparky’s expert EV charger installation services in Pompano, FL, and nearby areas is the best way to establish your personal EV charging station will be ready to recharge your vehicle today and for years to come.
 Which charger is best for you? It depends on your needs.
 Location matters when it comes to demand for generators, and it’s also important to ensure that your unit is in good working condition if you want to profit from it.
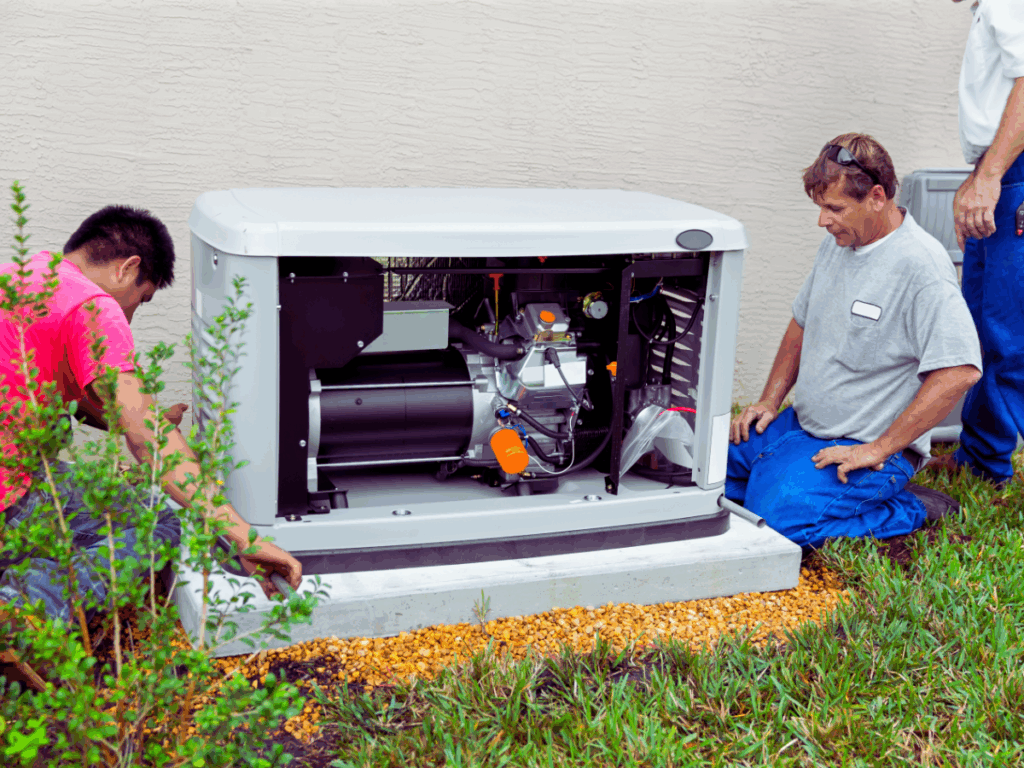 While installing a generator can be a great decision, it won’t move the needle if buyers don’t know it exists.
 Outdoor lighting does a lot more than just make your home look beautiful. It also improves safety, enhances security, and boosts your home’s property value. In fact, according to the
  Low-Voltage Systems
 If you have battery-powered or solar-powered outdoor lights, and your setup is just a few lights, then a DIY job may be safe. On the other hand, if you need outdoor lights for your garden, patio, and pathway that need to connect to your electrical system, it’s best to hire a professional electrician for the job. Electricians can ensure a customized installation, high-quality fixtures, and peace of mind that the job will be done professionally.
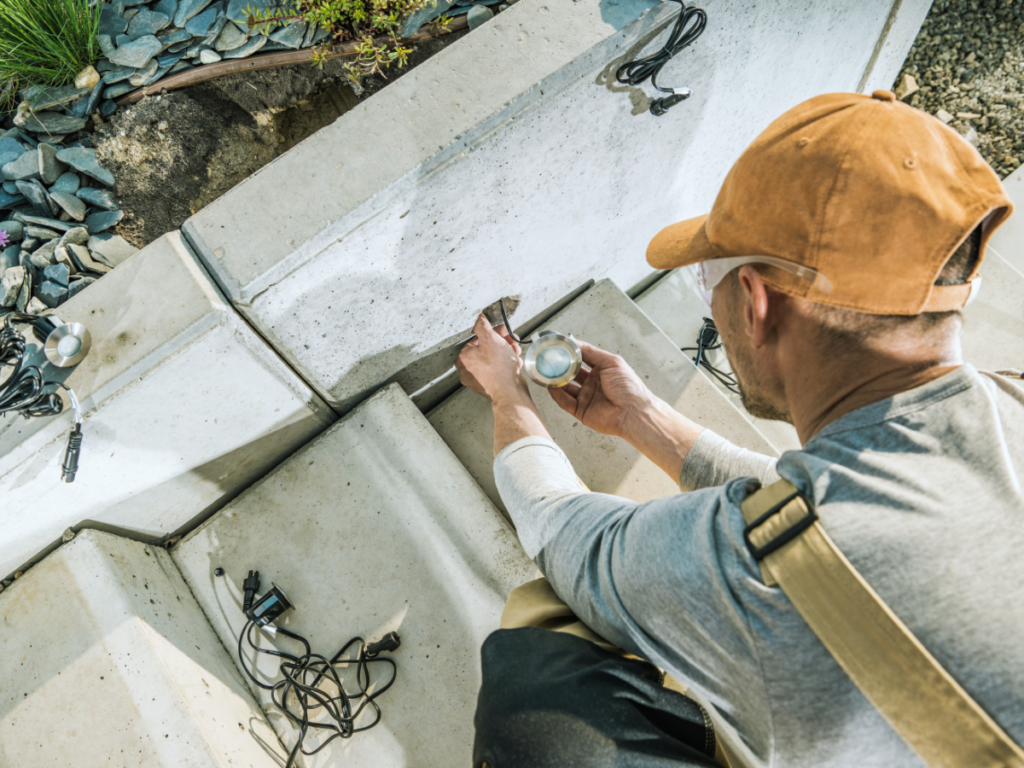 Now, let’s talk installation! How you install your new lights can make or break your project, and there are many mistakes you must avoid. At Mister Sparky, we’re ready to take the reins on installation to help you sidestep these common errors.
 After installation, several common mistakes can occur, leading to performance and efficiency issues. Here are the most significant ones you need to avoid.
 Are you ready to start planning your
 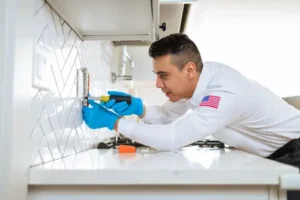 If you discover a hot electrical outlet in your house, you could have a dangerous problem with your electrical system. This article covers nine potential causes of hot outlets and steps you can take to resolve the issue.
 A too-hot outlet can indicate that your electrical system has an issue that needs immediate attention. Signs of trouble include:
 Most people can safely tighten the screws on an outlet provided that you can avoid touching the screwdriver and metal components to hot wires. You can also replace the faceplate with minimal risk, even as a beginner DIYer.