 Appliances and control panels throughout our home often let us know they are working with beeps or clicking noises, reassuring us they have roared to life to make our lives easier. But a buzzing or humming sound coming from your electrical panel is a warning sign and not a normal condition. Sounds can have a variety of causes, but all warrant an immediate call to a qualified electrician to repair or replace it.
Quick Takeaways
- Electrical panels are normally silent, so when you hear a sound, it is time to act.
- Buzzing often signals loose connections, overload, or failing components, all of which can lead to dangerous conditions in your home.
- Persistent buzzing can increase fire risk because a panel problem could become more volatile.
- Older or overloaded panels are especially vulnerable, so when they make a sound, you should act quickly.
- Call a licensed electrician to inspect a buzzing panel immediately to avoid serious problems.
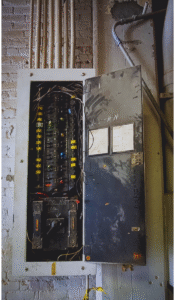
Is It Normal for an Electrical Panel to Buzz?
It is not normal for an electrical panel to make a loud, constant or new buzzing sound. Many panels emit a very faint or brief hum under a heavy electrical load, but any change in sound should be treated as a danger warning.
Common Reasons an Electrical Panel Is Buzzing
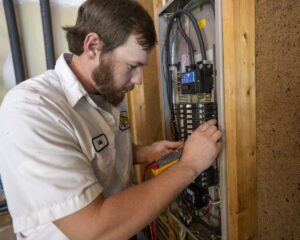
When panels begin to buzz or make a constant sound, they are giving you a warning that something is wrong and that it is time to call a certified electrician.
1. Loose Breaker or Wire Connections
When a breaker or wire becomes loose or the connection begins to falter, a change in resistance can create a vibration that leads to a buzzing sound. Over time, this vibration can lead to dangerous heat buildup that can turn into a fire, so calling an electrician at the first buzzing sound is critical.
2. Overloaded Circuits or Panel Capacity Issues
When a panel is working beyond its capacity when appliances are turned on, it can indicate it is overloaded by emitting an intermittent, dangerous buzzing sound. Even though the buzz or hum stops when the appliance is turned off, the presence of a sound during appliance use is a warning sign that your electrical panel needs to be checked by a professional.
3. Failing or Damaged Circuit Breakers
Over time, circuit breakers can degrade internally from normal use. This can result in failing breakers that can arc or vibrate, creating a buzz or hum that indicates a damaged panel in need of repair or replacement.
4. Electrical Arcing Inside the Panel
When an electrical current jumps between connections, this creates an electrical arc. You will hear a buzzing or even a sizzling sound when electricity is not following a safe route within your panel.
Arcing means your panel is at an elevated risk of fire due to the uncontrolled electrical pathways surging through the circuitry and needs an immediate evaluation by a professional.
5. Aging or Outdated Electrical Panels
Newer panels often have safety tolerances built in to protect them from power surges or equipment prematurely failing. But older panels lack those modern conveniences, so older or outdated panels will often buzz when small faults build up and replacement time approaches.
6. Utility or Voltage Supply Problems
If your home’s power line equipment is old or damaged, or if your power has surged, your electrical panel could buzz or hum. Changes in voltage supply can overload your panel, burn out older panels or cause dangerous arcing conditions. Buzzing from utility or voltage supply problems needs a professional inspection by a certified electrician to ensure that your panel is still safely operating.
When a Buzzing Electrical Panel Is Dangerous
 Hearing your electrical panel buzzing can be alarming enough to make you want to call in a professional. But if the sound coming from your electrical panel is also doing one of these, don’t delay in getting it checked out.
- Buzzing paired with burning smells
- A warm or hot panel cover
- Flickering lights throughout the home
- Tripped breakers with no clear cause
- Buzzing that grows louder over time
When Electrical Panel Replacement Is the Right Solution
Knowing when you will have to replace your electrical panel is an important part of keeping your home safe. Replacing an old, worn-out or outdated panel improves safe operation and improves its reliability.
You should replace a panel when it is undersized for a modern home, buzzing comes back after repairs, a breaker fails inspection or your panel has corrosion or heat damage.
Preventing Electrical Panel Buzzing in the Future
You can follow a few smart tips to keep your home safe and your electrical panel working the way that it should.
- Avoid overloading circuits
- Upgrade aging or older panels
- Schedule routine electrical inspections
- Install panels sized for current and future demand when building or updating
FAQ: Buzzing Electrical Panel Questions
Why does my electrical panel buzz when appliances turn on?
Your panel may be overloaded from the extra voltage requirements.
Can a buzzing electrical panel cause a fire?
A buzzing noise can alert you that a fire risk is high.
Is a humming sound from my breaker panel dangerous?
Yes, the humming sound can indicate a dangerous situation.
Should I shut off my power if my panel is buzzing?
No, you don’t have to shut off your power as long as you call an electrician to get it checked right away.
Does buzzing mean I need a new electrical panel?
Your panel may be repaired or replaced, depending on the cause of the buzzing, any damage it may have caused or if your panel is insufficient for your home’s electrical needs.
How much does it cost to replace a buzzing electrical panel?
Costs vary on replacement of panels, but the experts at Mister Sparky of Pompano Beach can help you make the right choice for your home.
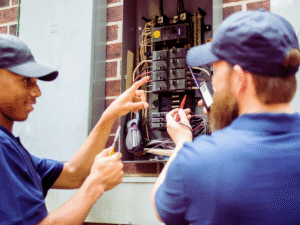
Need a Buzzing Electrical Panel Inspected or Replaced? Call Mister Sparky of Pompano Beach
![]() If your electrical panel is buzzing, call in our experts to keep your home safe. If you live in Pompano Beach, FL, or the surrounding areas, Pompano’s on-time electrician, Mister Sparky of Pompano Beach, is ready to help. Our licensed professionals can inspect your panels and check for code compliance to ensure their long-term reliability.
If your electrical panel is buzzing, call in our experts to keep your home safe. If you live in Pompano Beach, FL, or the surrounding areas, Pompano’s on-time electrician, Mister Sparky of Pompano Beach, is ready to help. Our licensed professionals can inspect your panels and check for code compliance to ensure their long-term reliability.
If you need your panels repaired or replaced, don’t put up with any malarky! Mister Sparky of Pompano Beach inspects, repairs and replaces unsafe panels to protect your home. Call today to schedule service.
 Quick Takeaways
 Upgrading a panel without a permit can have serious consequences. In the event of an electrical fire, your insurance claim may be denied. You could also fail a home inspection, forcing you to undo your work, such as removing a new circuit.
 Are your recessed lights flickering? At best, this can be annoying. At worst, it can be dangerous.
 If any of the additional factors below are present, the flickering could be a safety issue:
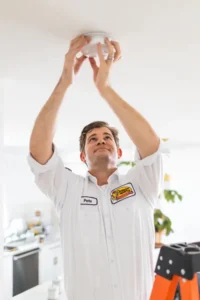 Quick Takeaways
 In general, recessed lights should be about 2 to 3 feet from the walls of a room. Placing them closer than that can create harsh, bright light along the walls, resulting in glare.
 If you think an electrical outlet in your home is burnt or could burn, look for the following signs:
 Electrical leakage is much like the name suggests. This hazardous electrical issue occurs when an electric current escapes the desired path and runs into areas where it shouldn’t. Similar to unwanted water leaks, having electrical currents veer out of the safe pathway can lead to major damage.
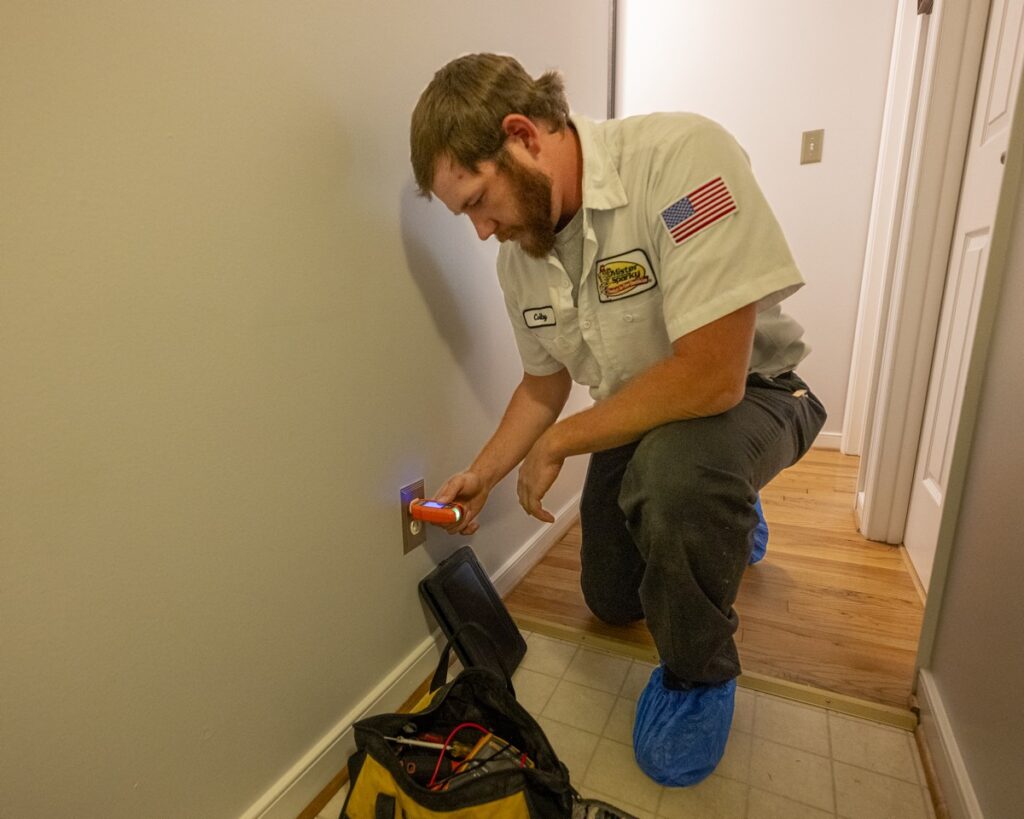 This step-by-step guide will get you started with a thorough check for electrical leaks. Please note that if you feel uncomfortable or unsure at any time, then we’re here to help.
 Our licensed electricians use specialized equipment and techniques to perform electrical testing safely and accurately. We may use these strategies to get to the bottom of what’s causing the problem in your Pompano Beach home.
 As the weather warms up, nothing cools your home like a gentle breeze. If your ceiling fan suddenly starts to slow down, there may be a mechanical or
  To troubleshoot, always begin by turning off the fan’s power at the breaker so that you aren’t injured or electrocuted. Then, use the following steps.
 Flickering lights and humming noises aren’t reserved for horror flicks. If you’re experiencing ceiling fan malfunctions, there are early warning signs that will alert you to the problem. To avoid an unexpected breakdown, wiring issues, and electrical fires, it’s essential to get these symptoms diagnosed and repaired right away.
 There are a few common reasons why ceiling fans may develop electrical malfunctions.
 If you are thinking about adding a chandelier to your home, you’ll need to consider adding a junction box. In most cases, it’s required as part of Pompano building and safety codes.
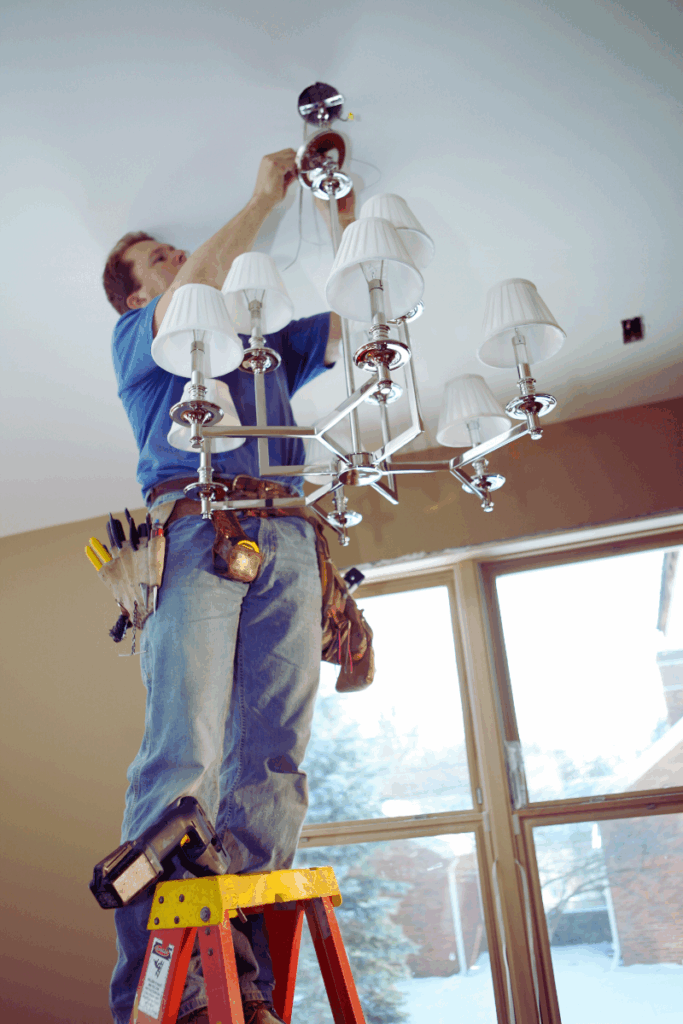 Step 1: Determine the type of ceiling you have and how much weight it can support.
 Misty Sparky and other professional chandelier installers go through several careful steps to ensure that chandeliers are installed safely.